
Adding pre-mints (Generative NFTs)
Premints are the NFT assets that you prepare for the project before the actual on-chain minting happens. The process of preparing premints typically involves uploading NFT metadata (e.g., name, description, attributes, images) to Mintology.
Use the NFT Wizard: Navigate to NFT Wizard for a simple and quick bulk premint creation.
- To start creating premints, either navigate to NFT Wizard or click on Add NFTs under the NFT Details section in the project settings.
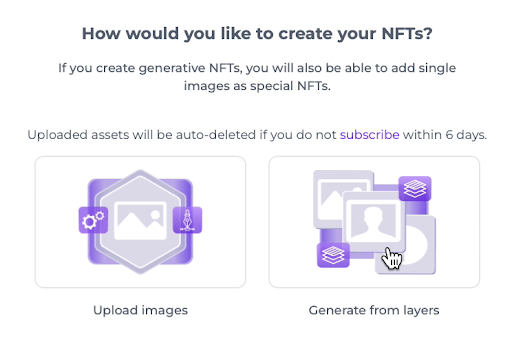
To create more unique NFTs quickly, we will choose the “Generate from Layers” option, which generates a set of random NFTs based on given layers.
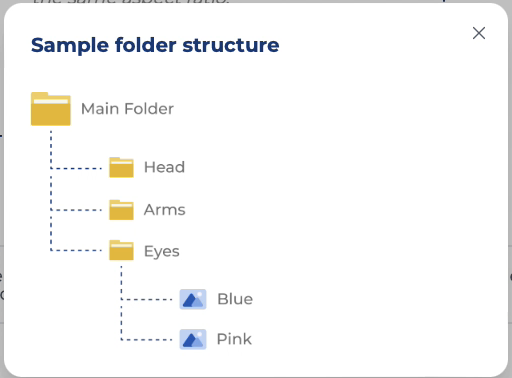
Prepare Your Folder Structure:
Ensure you have a folder structure that follows the sample folder with the appropriate assets. For this guide series, please use the mintology-demo-generative folder provided in the code template to generate your tokens.
Rearrange Layers and Edit Rarity:
On the Editor page, you can rearrange the layers and edit their rarity. The attribute values for the tokens will be generated based on the folder name and the file name:
- The
trait_typewill be assigned the folder or layer name. - The
valuewill be assigned the file name.
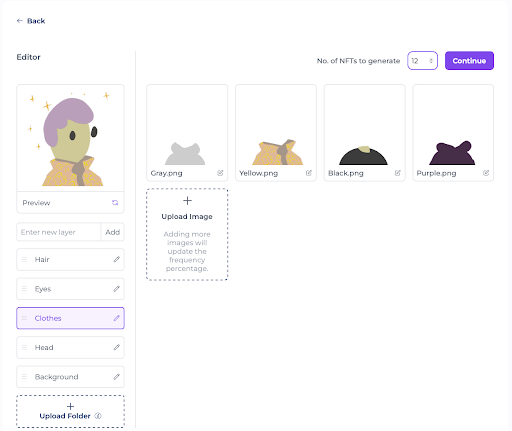
If your folder name or file name is not appropriate, you can edit them by clicking on the edit button under the layers. This will bring up an edit screen where you can modify the names.

For this project, we will stick to the default values.
Generate NFTs:
- Enter the number of NFTs you want to generate for this project.
- Click on Continue.
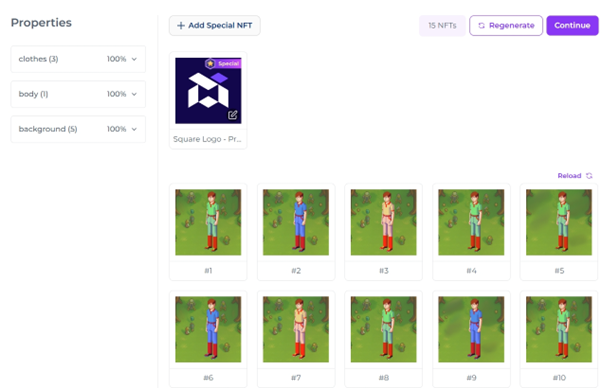
Review and Customise NFTs:
- On the next page, you will see randomly generated sample NFTs.
You will also have the option to add special NFTs if your project requires them. These special NFTs will appear as part of the generated set.
Updated 4 months ago