
Configuring Success Page
The final step in setting up your token gating is to configure the Success Page.
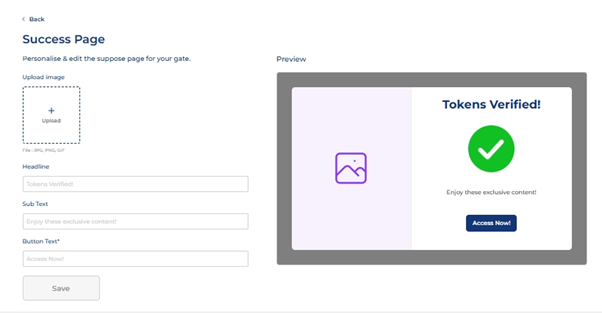
This page is displayed to users who successfully meet the gating criteria and gain access to your exclusive content.
- Access Success Page Configuration:
- Navigate to the Token Gating section within your Mintology plugin settings.
- Select the gate for which you want to configure the Success Page.
- Customize the Success Page:
- A sample Success Page is provided in the preview on the right. You can use this as a template or customize it according to your preferences.
- Customize the following elements:
- Header Text: Welcoming message for users who have successfully passed the gate.
- Body Content: Information about what users can expect to access, such as exclusive content, special offers, or next steps.
- Visuals: Add images, videos, or other media to enhance the Success Page.
- Call-to-Action: Provide clear instructions or buttons for users to proceed to the gated content.
- Save and Review:
- After customizing the Success Page, click Save to apply the changes.
- Review the Success Page to ensure it looks and functions as expected.
Updated 4 months ago